Trolling Motor Accessories Parts for Beginners
Wiki Article
The Single Strategy To Use For Trolling Motor Accessories Parts
Table of ContentsThe Facts About Trolling Motor Accessories Parts RevealedIndicators on Trolling Motor Accessories Parts You Need To KnowThe smart Trick of Trolling Motor Accessories Parts That Nobody is Talking AboutThe smart Trick of Trolling Motor Accessories Parts That Nobody is Discussing
We have been a Minn Kota Authorized Solution Facility since 1979 as well as take a great deal of pride in our knowledgable team. Make the water your permanent address. You recognize what you want from a trolling motor.That never functions. We do it by focusing on power as well as reliability. As well as we do it by packing every trolling electric motor with even more strike and also even more digestive tracts than any type of other motor for the cash.
Don't purchase anywhere else. "The personal service given was wonderful. "My $1,700 Terrova 80 i-Pilot acquisition was a large financial investment so I was a little anxious getting my electric motor online, however I'm sure happy I picked Trolling, Motors.
There are multiple components of your trolling electric motor that you ought to recognize with. There are three almosts all that you require to be knowledgeable about to utilize your electric motor properly. Remote control, Depth collar, Stow and deploy bar, There are lots of other parts to your bow place electric trolling motor that you will wish to have general knowledge of, but you will certainly need to recognize how to make use of these 3 parts to utilize your electric motor.
The Definitive Guide for Trolling Motor Accessories Parts
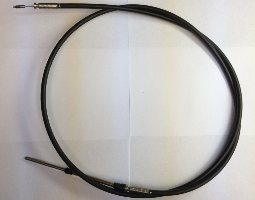
You need to also recognize these various other parts as well as below is a checklist of several of them. Power motor, Prop, Motor shaft, Autumn away ramps, Guiding housing, Electric motor indication panel, Control box, Motorhead, Motor mount, There are likewise a few optional devices. Foot pedal control, Web link remote, In this post, we will cover all of these things.You have your basic options like left and also right arrowheads and also then a motor rate plus as well as minus button also a prop on-off button that has an icon of a propeller on it. Several of the advanced features include a switch with an N on it which is a compass direction auto-pilot button when you press that button your electric motor will certainly hold a straight path.
When you push the speed control button, your electric motor will certainly make its best shot to maintain your boat moving at the very same rate by adjusting the electric motor speed for you. I have discovered that this is a function yet jumps around a little bit and also force lower fishing doesn't function as well as I would such as.
The Main Principles Of Trolling Motor Accessories Parts
Just how do I use my deepness collar? The is a retainer that is attached around the motor shaft and secured with go to the website a thumbscrew. The depth collar sets the depth of the motor in the water. Likewise, the deepness collar works as component of the steering device with a key or tooth that will harmonize with the guiding box when the electric motor is deployed.I release the electric motor and release the tension on the thumbscrew while holding on to the shaft as well as slowly lowering it to my preferred depth. You desire the center of the motor at regarding twelve inches depth for regular operating conditions. If the water is rough, you will intend to go a little deeper than that when possible.
The initial point I will certainly tell you is that when you deploy your motor never ever let it fall. There is no system on the motor to reduce its descent so you should hang on to the electric motor shaft just above the depth collar and also slowly lower it down. The very first step, grab the electric motor shaft, the 2nd step push the lever in and afterwards down to release the motor, 3rd step slowly move the electric motor out and down to lock it in position.
We have covered the primary components that you will consistently be utilizing to operate your trolling motor. I suggest that you check out your electric motor handbook for more thorough summaries of each part, but this will certainly give you a heads-up so you will certainly understand what you remain in for as well as a few individual ideas in the last couple of paragraphs.
The Main Principles Of Trolling Motor Accessories Parts
The power electric motor is a sealed water tight casing with the composite shaft coming via the top, the electrical drive motor within, and also the prop shaft leaving out the back. The fin or skeg is likewise part of the casing structure. The power motor is the one component try this out of the motor that is constructed like a tank as well as weighs as long as a tank, LOL.The is affixed to the rear of the power motor.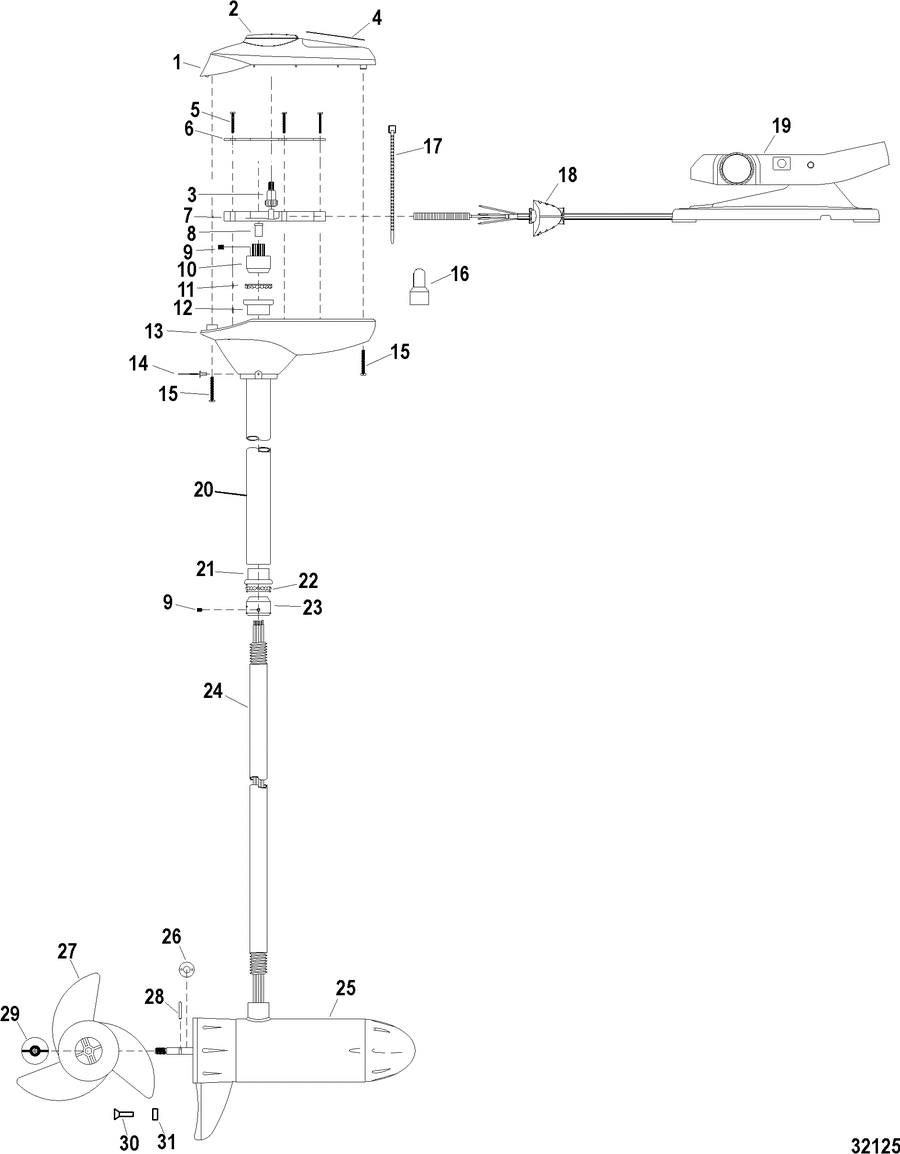
Harsh water or beaching the electric motor on a sandbar has never created a concern with the shaft, and the electric motor has proceeded to run just fine. The belong to the motor place, and also basically, it's a sloped location with a relocating system for the power electric motor to set when you pull the motor up it locks the power motor ready (Trolling Motor Accessories Parts).
Report this wiki page